How To Dye Your Hair At-Home Like a Pro

When making it to the salon isn’t an option, many women take matters of hair color into their own gloved hands. Coloring your hair from your bathroom sink can be risky, but with expert advice, it can help stretch out time between pricey appointments. Here, an insiders’ guide to hiding your roots and boosting your color from the industry’s top experts (i.e., what they don’t tell you on the box).
BEFORE YOU BEGIN
MOISTURIZE YOUR LOCKS
Dye takes best to hydrated, healthy hair, so conditioning treatments should be part of your regular regimen, says New York City colorist Louis Licari, who works with Susan Sarandon. Try using Nexxus New York Salon Care Humectress Ultimate Moisture Protein Complex Intensely Hydrating Masque at least once each week.
DO A STRAND TEST
To make sure you’ve chosen the right shade, try it out before you do your entire head, says New York City colorist Sharon Dorram of Sharon Dorram Color at Sally Hershberger, whose celeb clientele includes Reese Witherspoon. The easiest way is to gather a small section of hair above your ear (where no one will see it) and leave the color on for 15 minutes. Check the results in natural light.
PROTECT YOUR SKIN
Since some dyes can irritate and stain your skin, colorists agree it helps to spread Vaseline along your hairline using your finger or a Q-tip before applying any color.
KNOW YOUR TRUE HUE
It’s best to choose a color that is no more than one or two shades lighter or darker than your natural hair, since any dramatic changes can be difficult and costly to fix, says Dorram. “One bad color job will take a professional colorist two or three salon visits to correct.” When in doubt, choose a lighter shade, because it’s always easier to go gradually darker if you don’t like it, says colorist Christopher John of the Garren New York Salon, whose loyal following includes Madonna and Elizabeth Hurley.
WHAT YOU’LL NEED
ASSEMBLE A KIT
“If you’re going to commit to home hair color, create a kit and leave it in your bathroom,” says colorist Kim Vo, who’s responsible for Kate Hudson’s mane. Make sure to include an old button-up shirt (so you don’t have to pull anything up over your head), a kitchen timer, Vaseline, Q-tips, latex gloves, a few towels you don’t mind staining, and your boxes of color.
USE WHAT THE PROS DO
The best tools are the ones used by professional colorists, so visit your local beauty-supply store (try Sally Beauty at sallybeauty.com) for a plastic slant-tip applicator bottle and a tint brush with short, stiff bristles to help get every layer of hair, says Beverly Hills colorist Umberto Savone, who works with Selma Blair.
STOCK UP ON YOUR SHADE
You never want to run out mid-process; otherwise you’re looking at a botched dye job. “If you do, you’ll be in trouble,” says Dorram. For hair that is shoulder length or longer, make sure to have at least two or three boxes of product.
WHAT’S EASY TO DIY
COVER ALL YOUR GRAYS
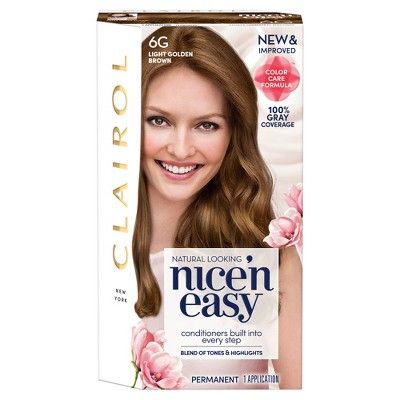
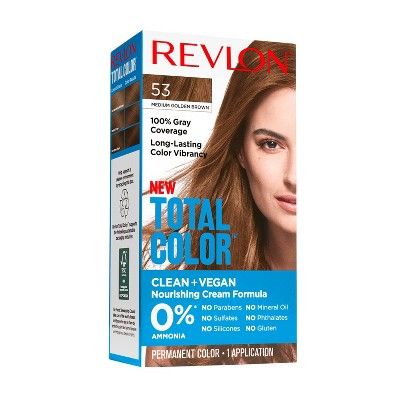
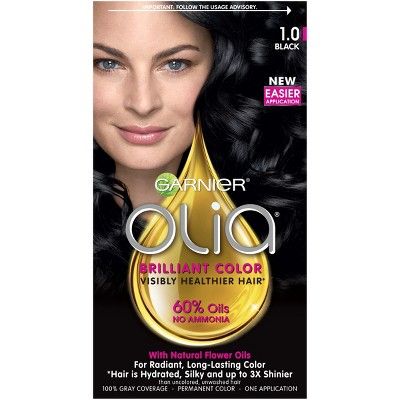
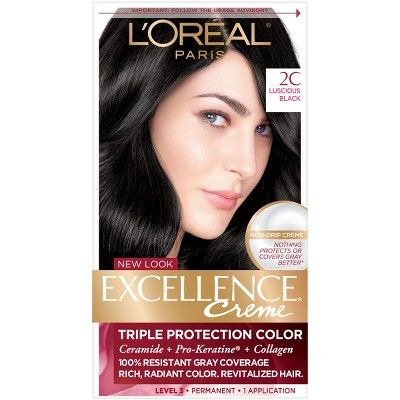
New at-home hair dye options are infused with more oils and conditioning ingredients than ever before. Many have also been reformulated to be cleaner, vegan, and overall healthier for your hair, so all your left with is flawless gray coverage and intense shine.
The Best New Hair Dyes
TRY A GLAZE
The easiest thing you can do to improve faded color is use a glaze. Try celebrity hairstylist Kristin Ess’s line of hair glazes (available at Target) to quickly boost your hair’s luster and tone.
MIX LIKE A PRO
The major difference between store-bought and salon color is that a professional colorist mixes shades to give your hair depth, says Aura Friedman, who works with Lady Gaga. “Your color should always be a half shade lighter at the hairline and get darker toward the back,” adds John. How to accomplish this yourself? Buy two different shades (your true color and one level lighter) and mix a tablespoon of each together for the half-inch area around your face for a brightening effect. Then use your true color on the remainder of your hair to avoid having it look flat.
OMBRÉ EFFECT
Stars like Jessica Biel and Drew Barrymore have made dark roots and sun-kissed ends a sought-after look, and the best part is it’s really easy to achieve on your own. Buy an at-home kit that is three shades lighter than your natural color and apply it with a brush to the last few inches of your ends, says Vo. If you want the color lighter, wrap the ends in plastic wrap while it develops. For the most intensity, wrap them in foil.
COVER JUST YOUR ROOTS
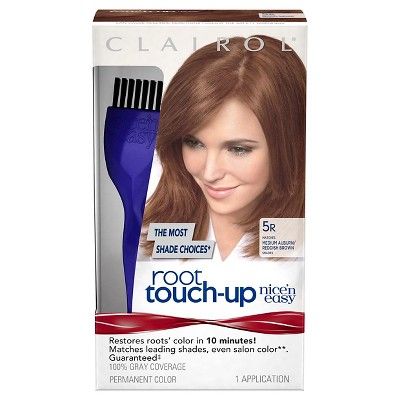
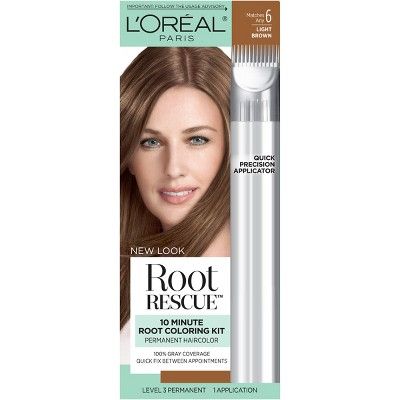
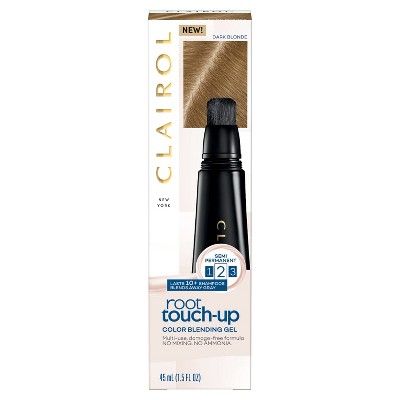
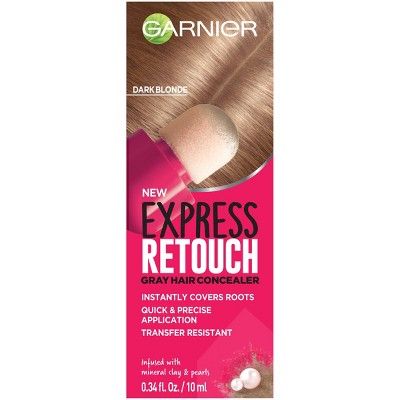
If you’re only worried about your roots showing, reach for a root touch-up kit rather than a whole box of dye. They’re formulated to blend seamlessly into your existing color, buying you time before everyone knows your real hair color. Some touch-up kits utilize semi-permanent color that lasts for weeks, others last through ten or so shampoos. Some are no more than a concealer for hair, letting you instantly disguise gray roots.
The Best Root Touch-Up Kits
SAVE IT FOR THE SALON
MAJOR TRANSFORMATIONS
If you’re really into the idea of doing a drastic change (meaning three or more shades lighter or darker than your natural color or switching it completely), wait until you can visit the salon. “At-home hair color should be about maintaining the shade that was designed for you by a colorist, not major changes,” advises Dorram. Instead, invest in a visit to your salon for a professional color-and-tutor session when you can learn how to properly keep up your look.
HIGHLIGHTS
Colorists don’t advise doing these yourself since they’re extremely tricky to place and can wind up looking like tiger stripes. But if you are going to go for it, stick to the area around your face, where you can see and control the color, says John.
AVOID NEWBIE MISTAKES
DON’T WASH YOUR HAIR
Coloring freshly washed hair is a recipe for painful scalp irritation, so make sure to wait a full day after shampooing before any dye application. If you have a few days of styling-product buildup—which can make color application uneven—cleanse your scalp without scrubbing too hard, says John.
COVER GRAY PROPERLY
When covering up any newly sprouted gray roots, be mindful that you don’t drag the color past your regrowth (especially for those with darker hair shades). It may not seem like a big mistake, but overlapping your color leads to shadow-y dark bands around the face.
ALWAYS USE COLOR-SAFE PRODUCTS
Regardless of how much or little you spend on your hair color, it’s vital that you protect it with quality products to keep it vibrant long after you dye it. We like Dove Nutritive Solutions Color Protect Shampoo and Garnier Nutrisse Color Reviver 5 Minute Nourishing Color Mask.
EXPERT HACKS
MIX IT UP
“If you have stubborn grays that are hard to cover, use two ounces of color and one and a half ounces of developer rather than equal amounts. You’ll get more pigment deposited this way and easier coverage. And remember to always mix your color and developer in a glass or plastic bowl, since metal will react with the hair color.” —KELLY VAN GOGH
CONSIDER YOUR FACE SHAPE
“If your face is narrow, apply a lighter color to the sides of your face and a darker color on top to create a fuller illusion. Do the opposite if you have a wide or round face to make it look longer.” —LOUIS LICARI
HIT UP YOUR KITCHEN
“Redheads looking for an easy way to richen up their locks should try soaking their hair in tomato juice for two minutes after shampooing once a week. It’s a really fantastic way to stain the cuticle and put color pigment back into the hair. For all other hair colors, lemon-drop rinses are a great thing in between tinting sessions to keep hair shiny and vibrant. The vodka boosts your color and cleanses mineral deposits from your hair, and the lemon juice adds luminosity. Try squeezing a half lemon into four ounces of vodka and apply to clean, damp hair for three minutes.” —KIM VO
Source: Read Full Article