This Is How You Remove a Gel Manicure At Home

We turn to a gel mani for durability (they last about ten days) and that signature glossy shine. But when it one nail unexpectedly chips, we know too well the temptation that comes with wanting to pick and peel it off. That moment of satisfaction will be fleeting, but the damage you inflict on your nails could take weeks to repair.
But you don’t have to pay an extra $10 at a salon to get your gels soaked off—just DIY. We asked Sarah Gibson Tuttle, CEO and founder of the celeb-favorite nail salon Olive & June, to give us the rundown on how to safely remove a gel manicure at home. All it takes is a little patience—and these three easy steps.
1.File It Down
Don’t overthink it: removing gel nails at home is the same exact process as the salon. First, you’re going to want to grab a fresh nail file (we love ones from Tweezerman at any drugstore). Tuttle says if one nail breaks or chips, file it down to a shape that you want and to leave it alone after if you can. If you want to take the entire manicure off completely, start by carefully filing away just the topcoat seal.
2. Soak It Off
Now for the step that will test your patience. Place a cotton ball soaked in acetone on each of your nails, then wrap the tip of your finger in foil to hold the ball in place. Let your nails soak for for about ten to 15 minutes, letting them go longer if the polish doesn’t easily slide off. Tuttle says if you want to expedite the soaking process (and make the experience more spa-like), wrap your hands in a warm towel.
3. Remove Gently
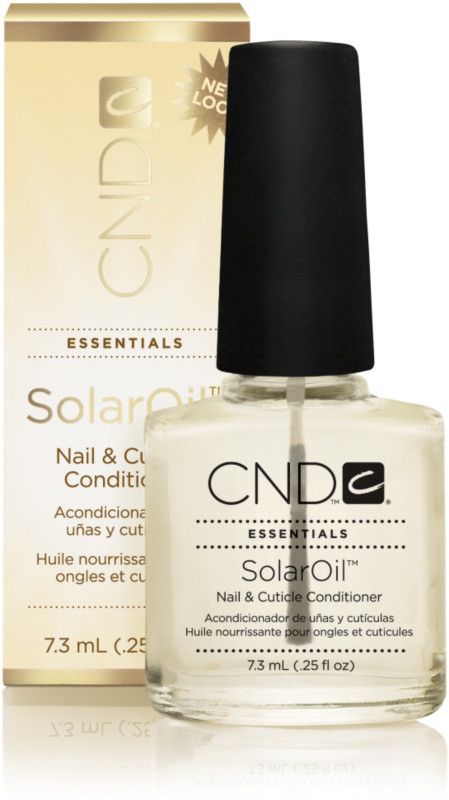
If the polish isn’t easily sliding off, grab a fresh acetone-soaked cotton ball and place it on the nail for a few more minutes. Once all the polish is off, add moisture back to your nail beds with an oil like CND’s Solar Oil. (But also be on the lookout for Olive & June’s cuticle serum, coming out this April).
Source: Read Full Article


