I Tried Hailey Bieber's Viral "Glazed-Doughnut" Nails
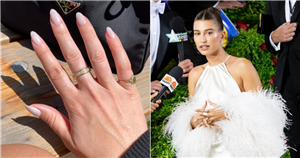
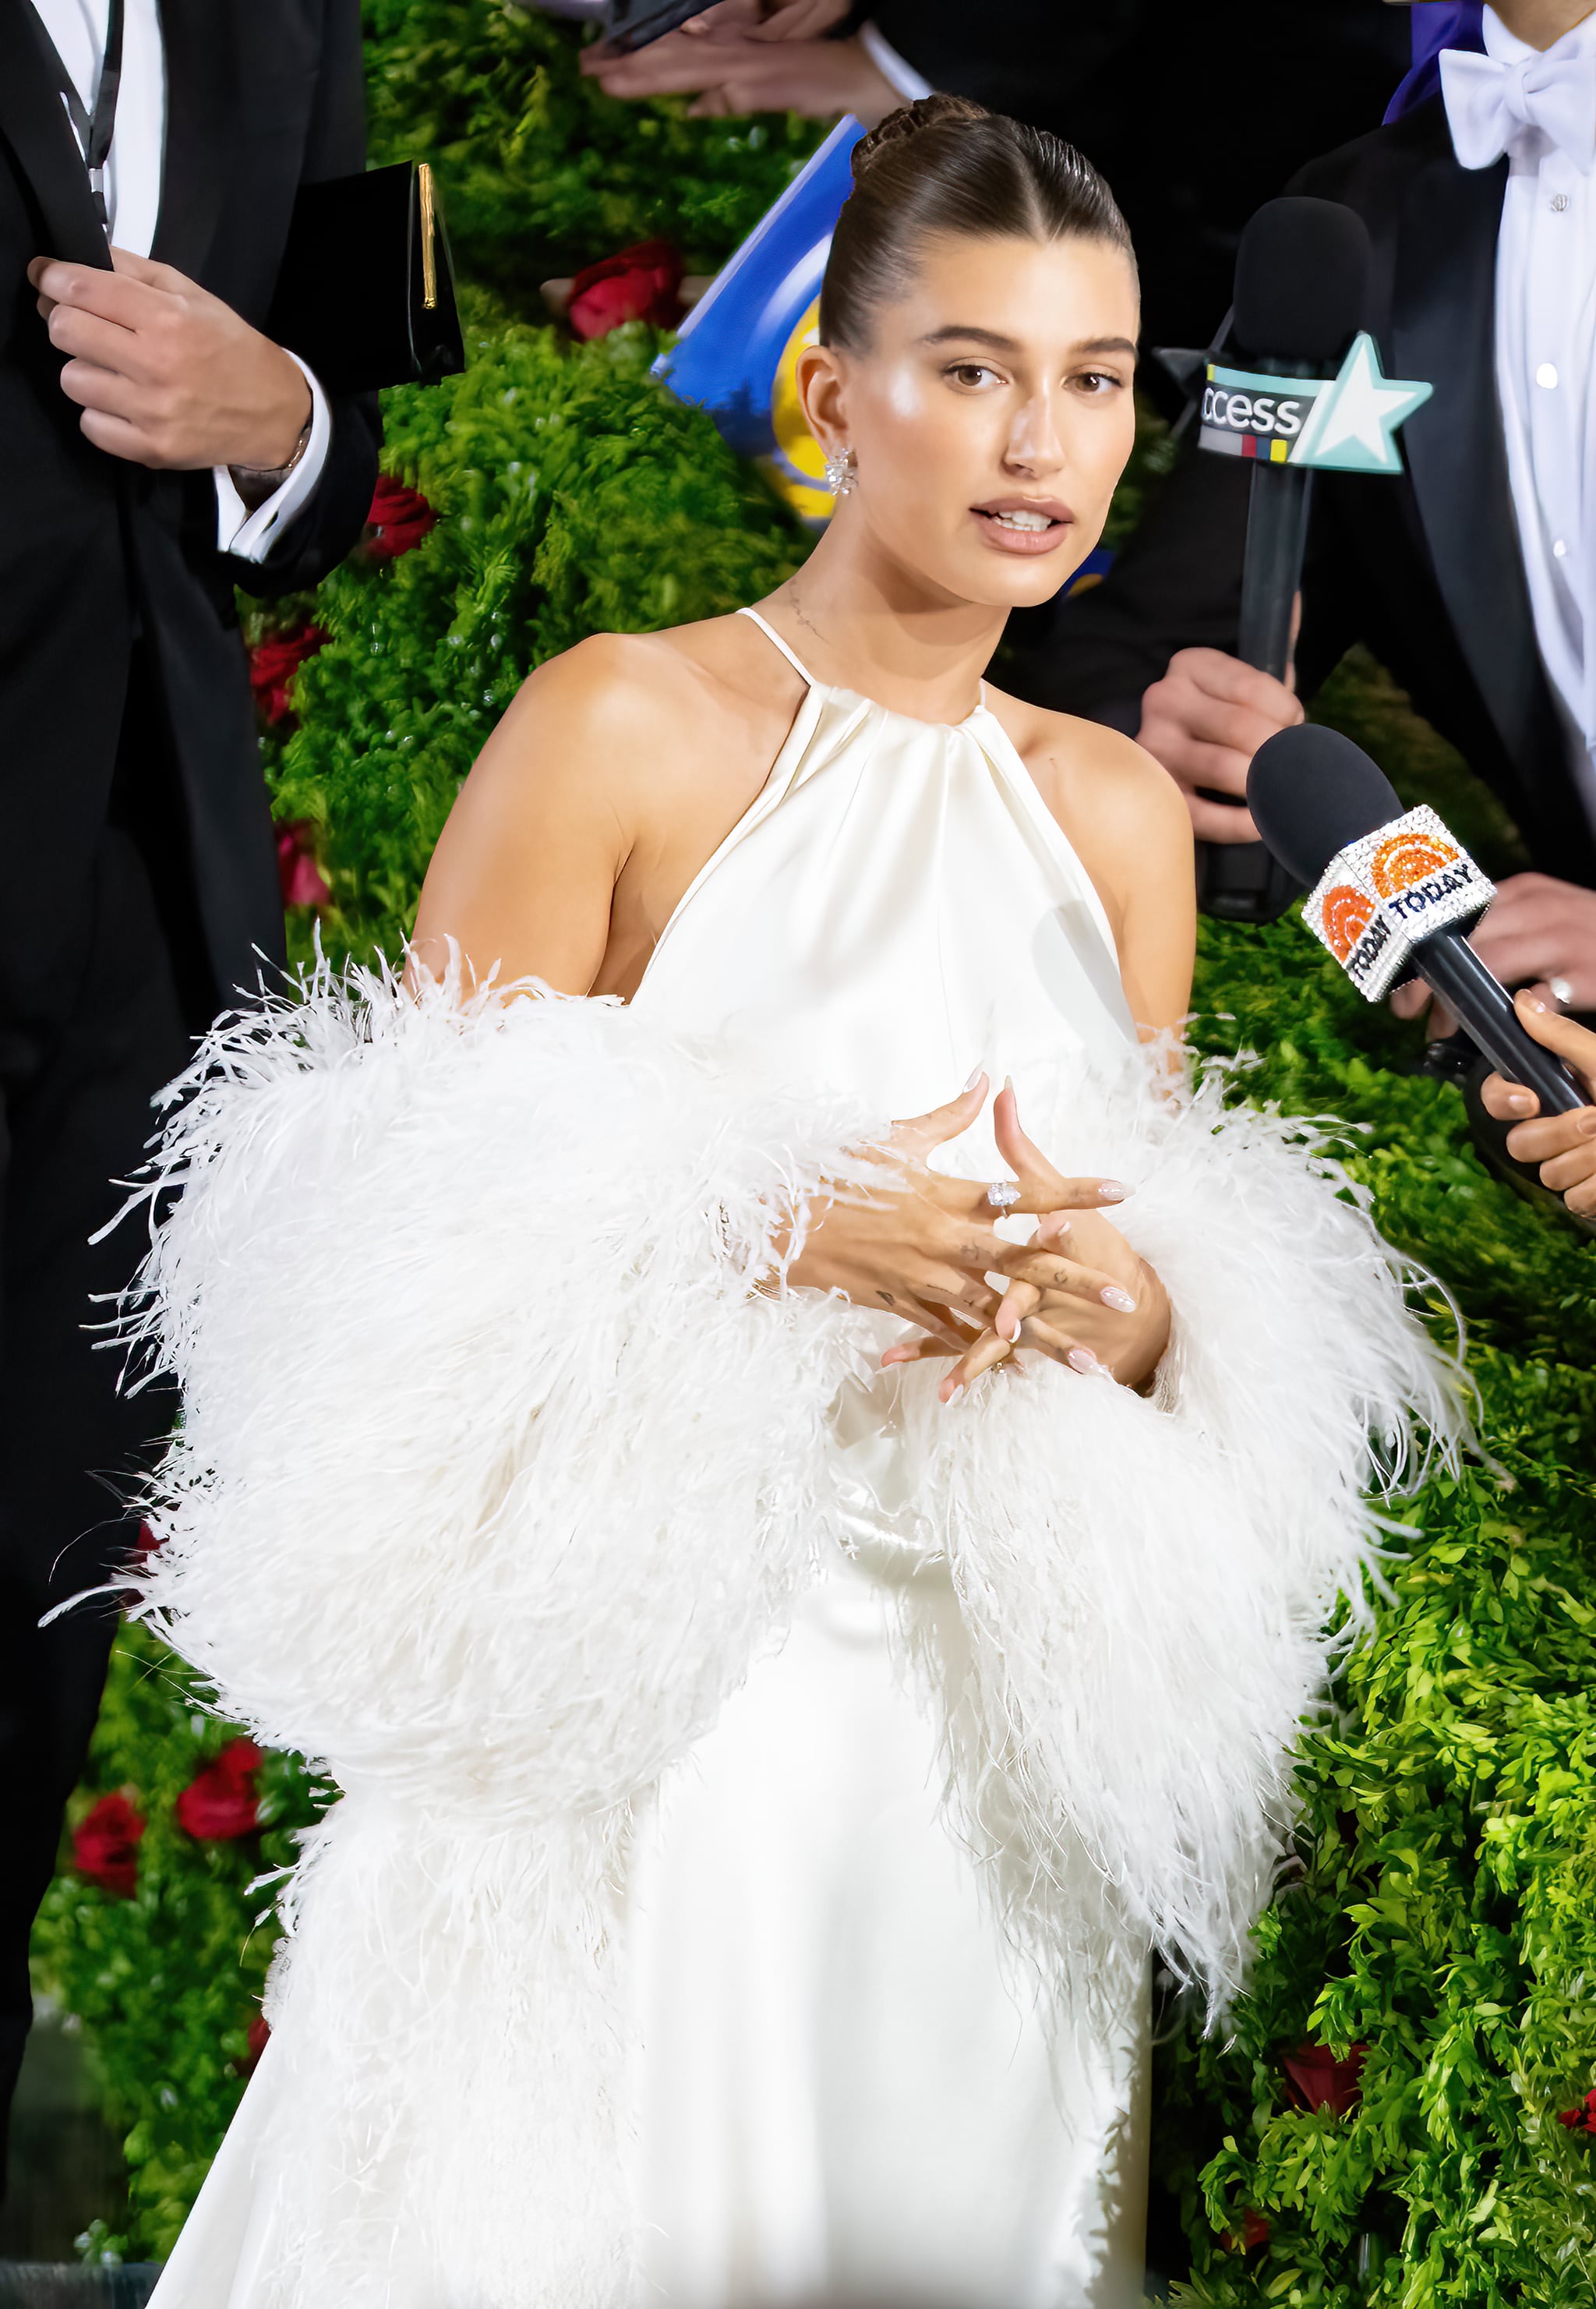
Image Source: Getty/Gilbert Carrasquillo/GC Images
- Hailey Bieber’s manicurist recently shared how to get the star’s go-to “glazed-doughnut” nails.
- The look involves applying a thin coat of polish color followed by a layer of chrome powder.
- Our editor recreated Bieber’s “glazed-doughnut” manicure and loved the result.
Hailey Bieber is my beauty and style icon. I love trying to recreate her every hairstyle, and I’ve been known to make quite a few fashion purchases after seeing her wearing them. I’m also equally obsessed with her nails — she always has the perfect nail polish color that I can never seem to get right, no matter how many photos I show to different nail technicians. Luckily for me, Bieber’s manicurist Zolzaya Ganzorigt recently told POPSUGAR her go-to nail technique that creates the perfect “glazed doughnut” effect.
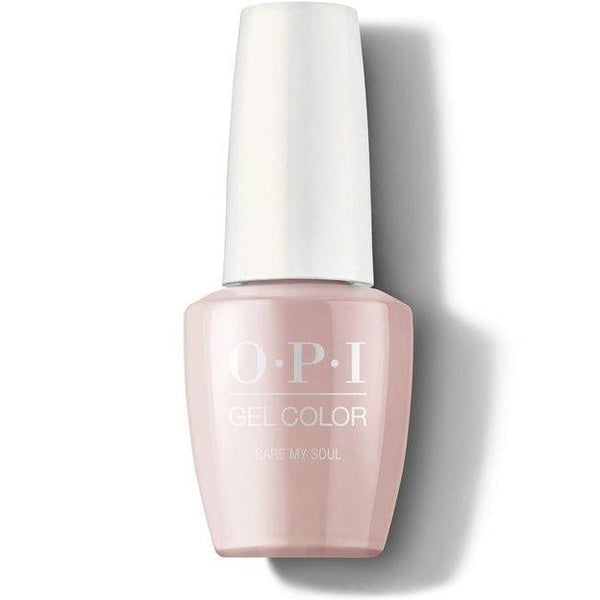
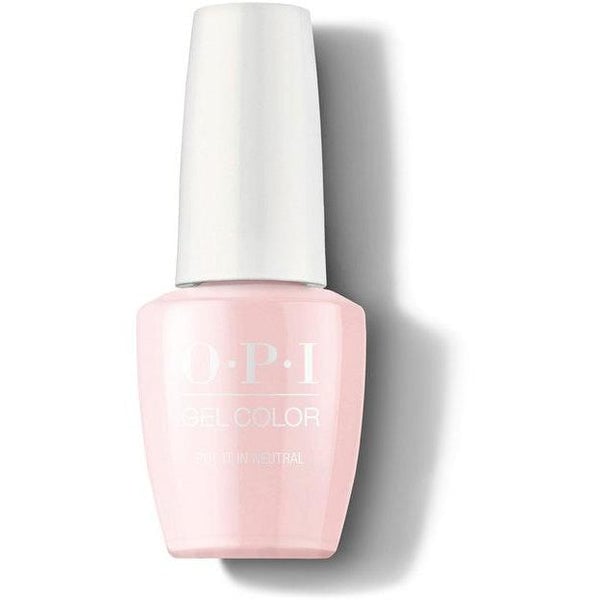
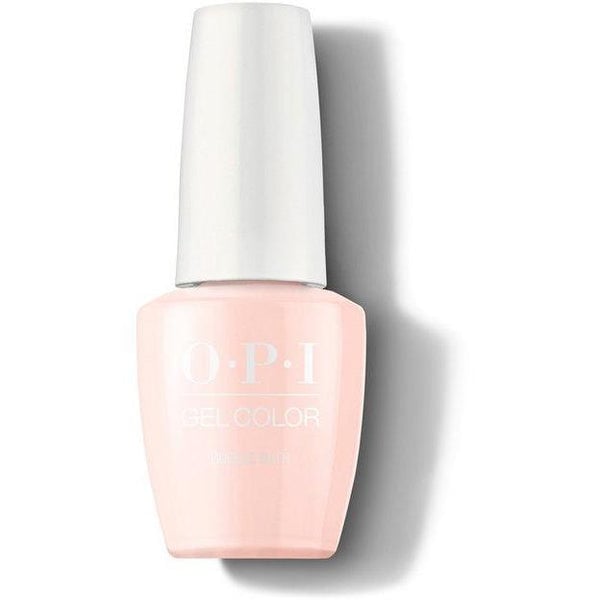
“Hailey loves getting her nails done and has beautiful long nail beds and keeps her nails natural without any type of extensions,” she says, adding that Bieber “mostly gets neutral colors and never gets just one solid color. We always mix at least two different shades to make her own custom color.” She reportedly loves using the OPI Bare My Soul ($21), OPI Put It In Neutral ($21), OPI Pale To The Chief ($20), and OPI Bubble Bath ($21).
Bieber’s most recent nail obsession is a twist on the chrome nail trend, but instead of opting for a bold hue, she prefers a sheer version (hence creating the “glazed” look). Ganzorigt revealed the exact color combination needed to achieve it at home, so of course I had to try it out for myself.
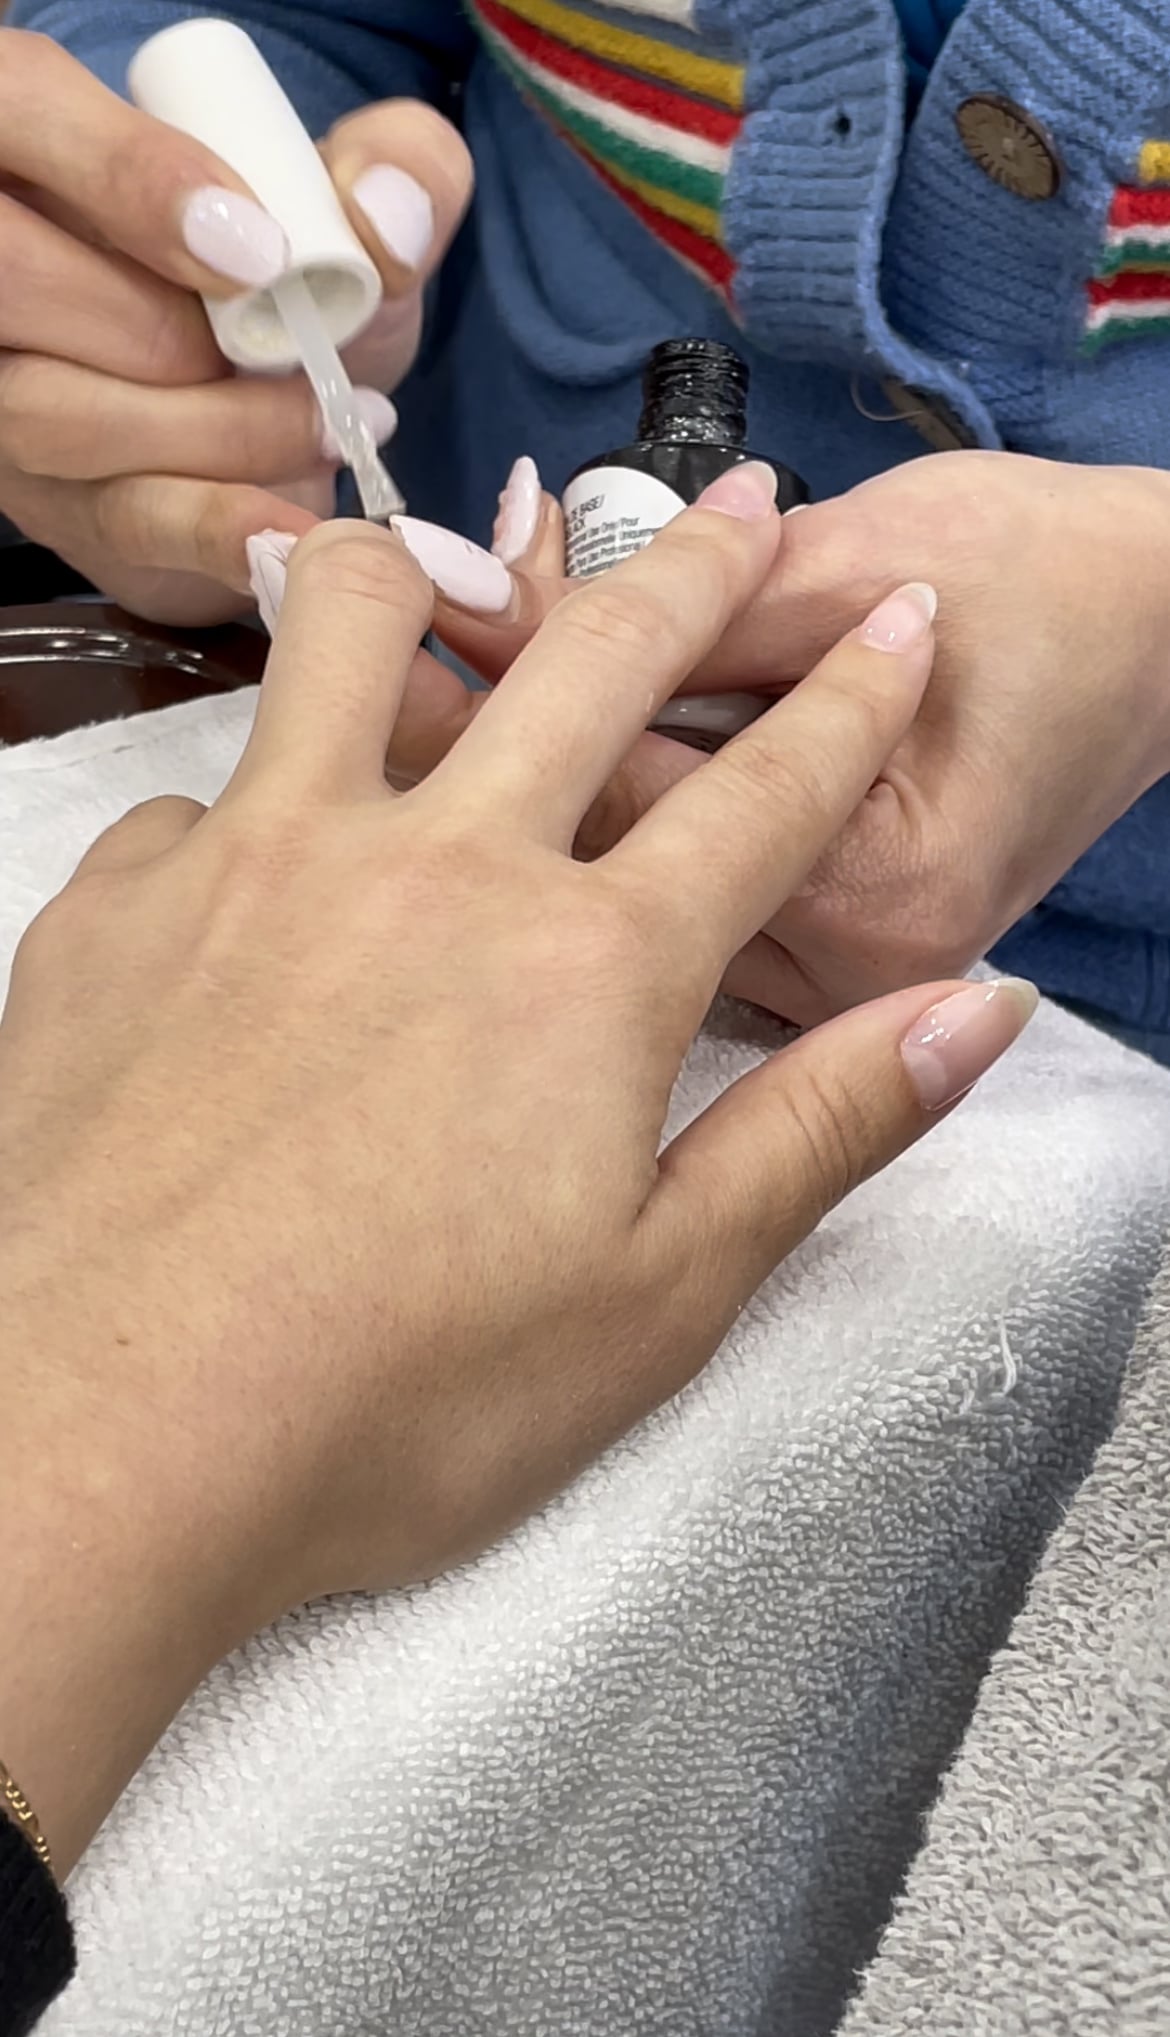
After purchasing everything I needed online, I called a handful of nail salons to see if they could do the chrome effect for me. It turns out, a lot of places don’t offer this service, so after many phone calls around town, I eventually found a salon a little bit further from my house that was able to do it.
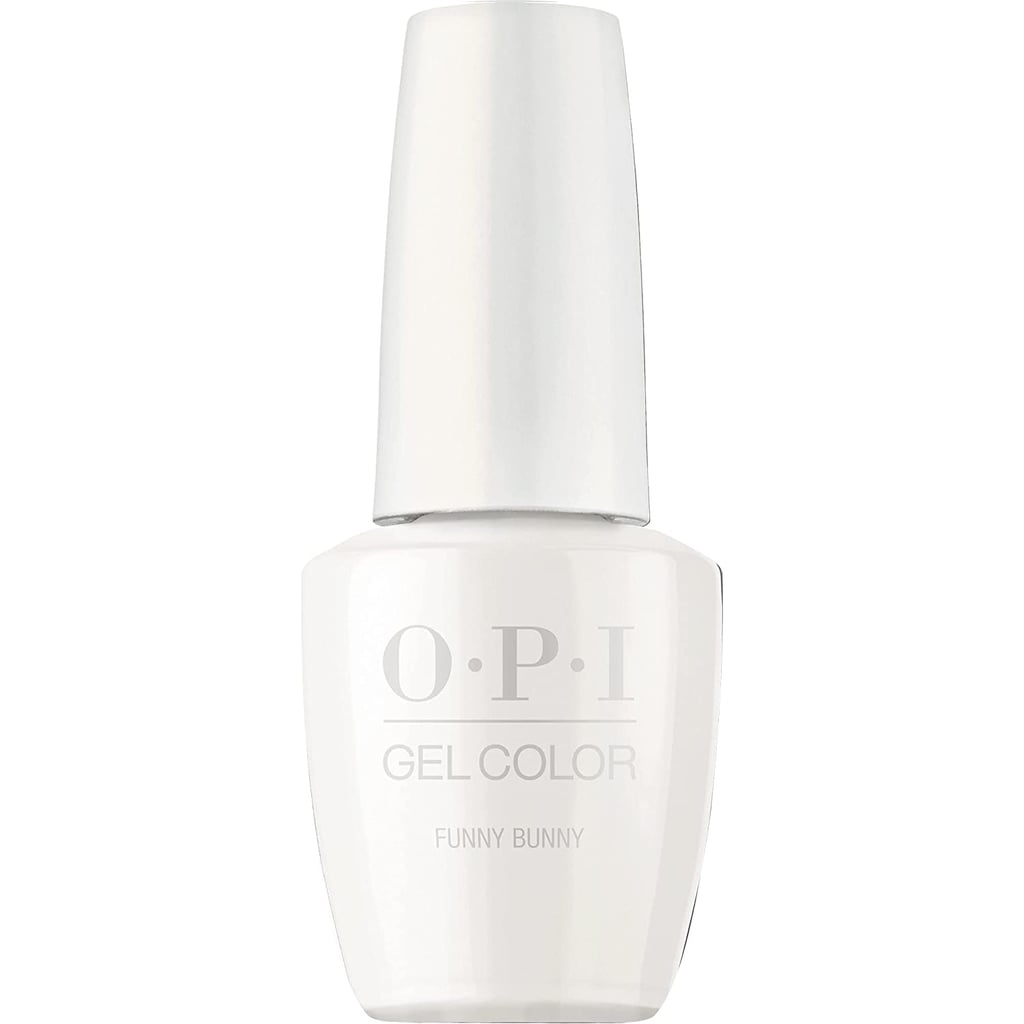
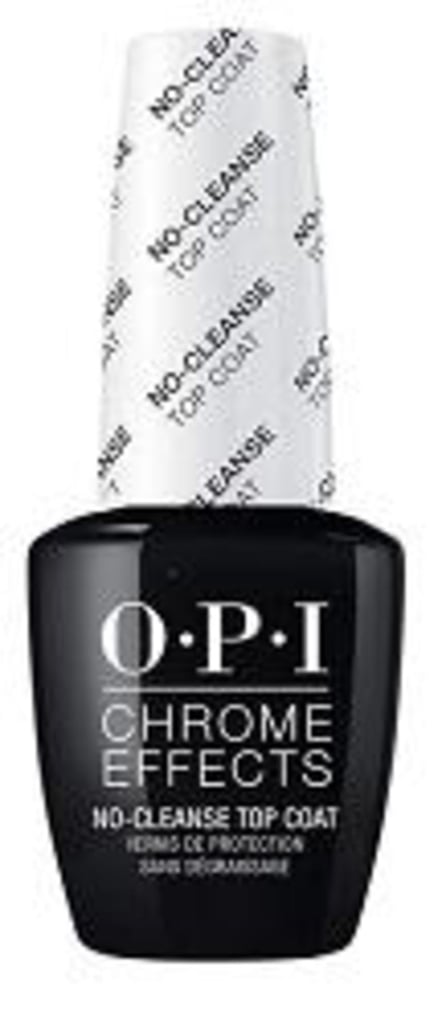
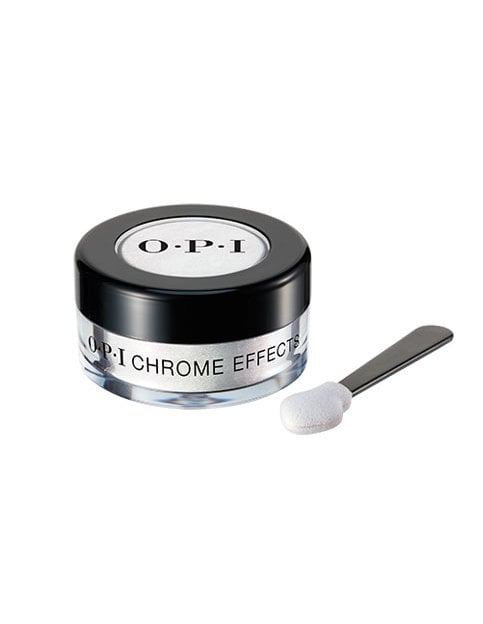
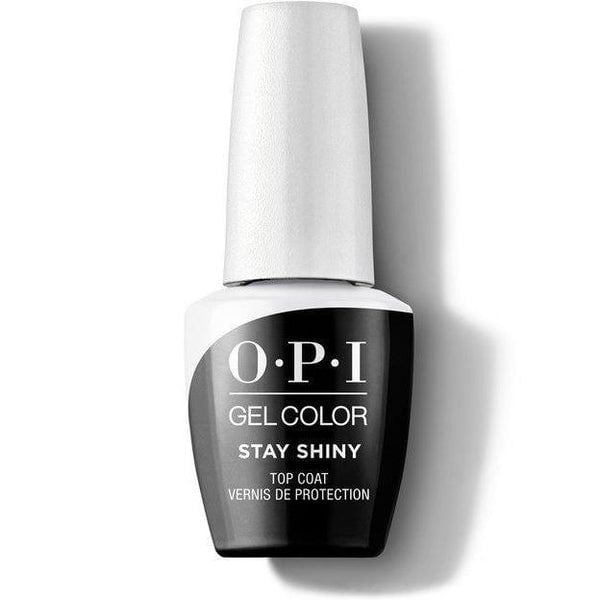
Once I arrived at the nail salon, and after removing the gel I had on my nails, the technician set to work following Ganzorigt’s steps for achieving Bieber’s “glazed-doughnut nails.” She started by applying the Gelish Foundation Base Gel ($25). After letting it cure, she then applied a thin layer of OPI Funny Bunny ($23) and then let it cure for 30 seconds. Next, she applied a thin layer of the OPI Chrome Effects No Cleanse Top Coat ($9), again letting it cure for 30 seconds. After, she took a small amount of the OPI Chrome Effects Powder in Tin Man Can ($28) and rubbed it over each of my nails using the included application brush. To finish everything off, she applied the OPI Stay Shiny Top Coat ($20).
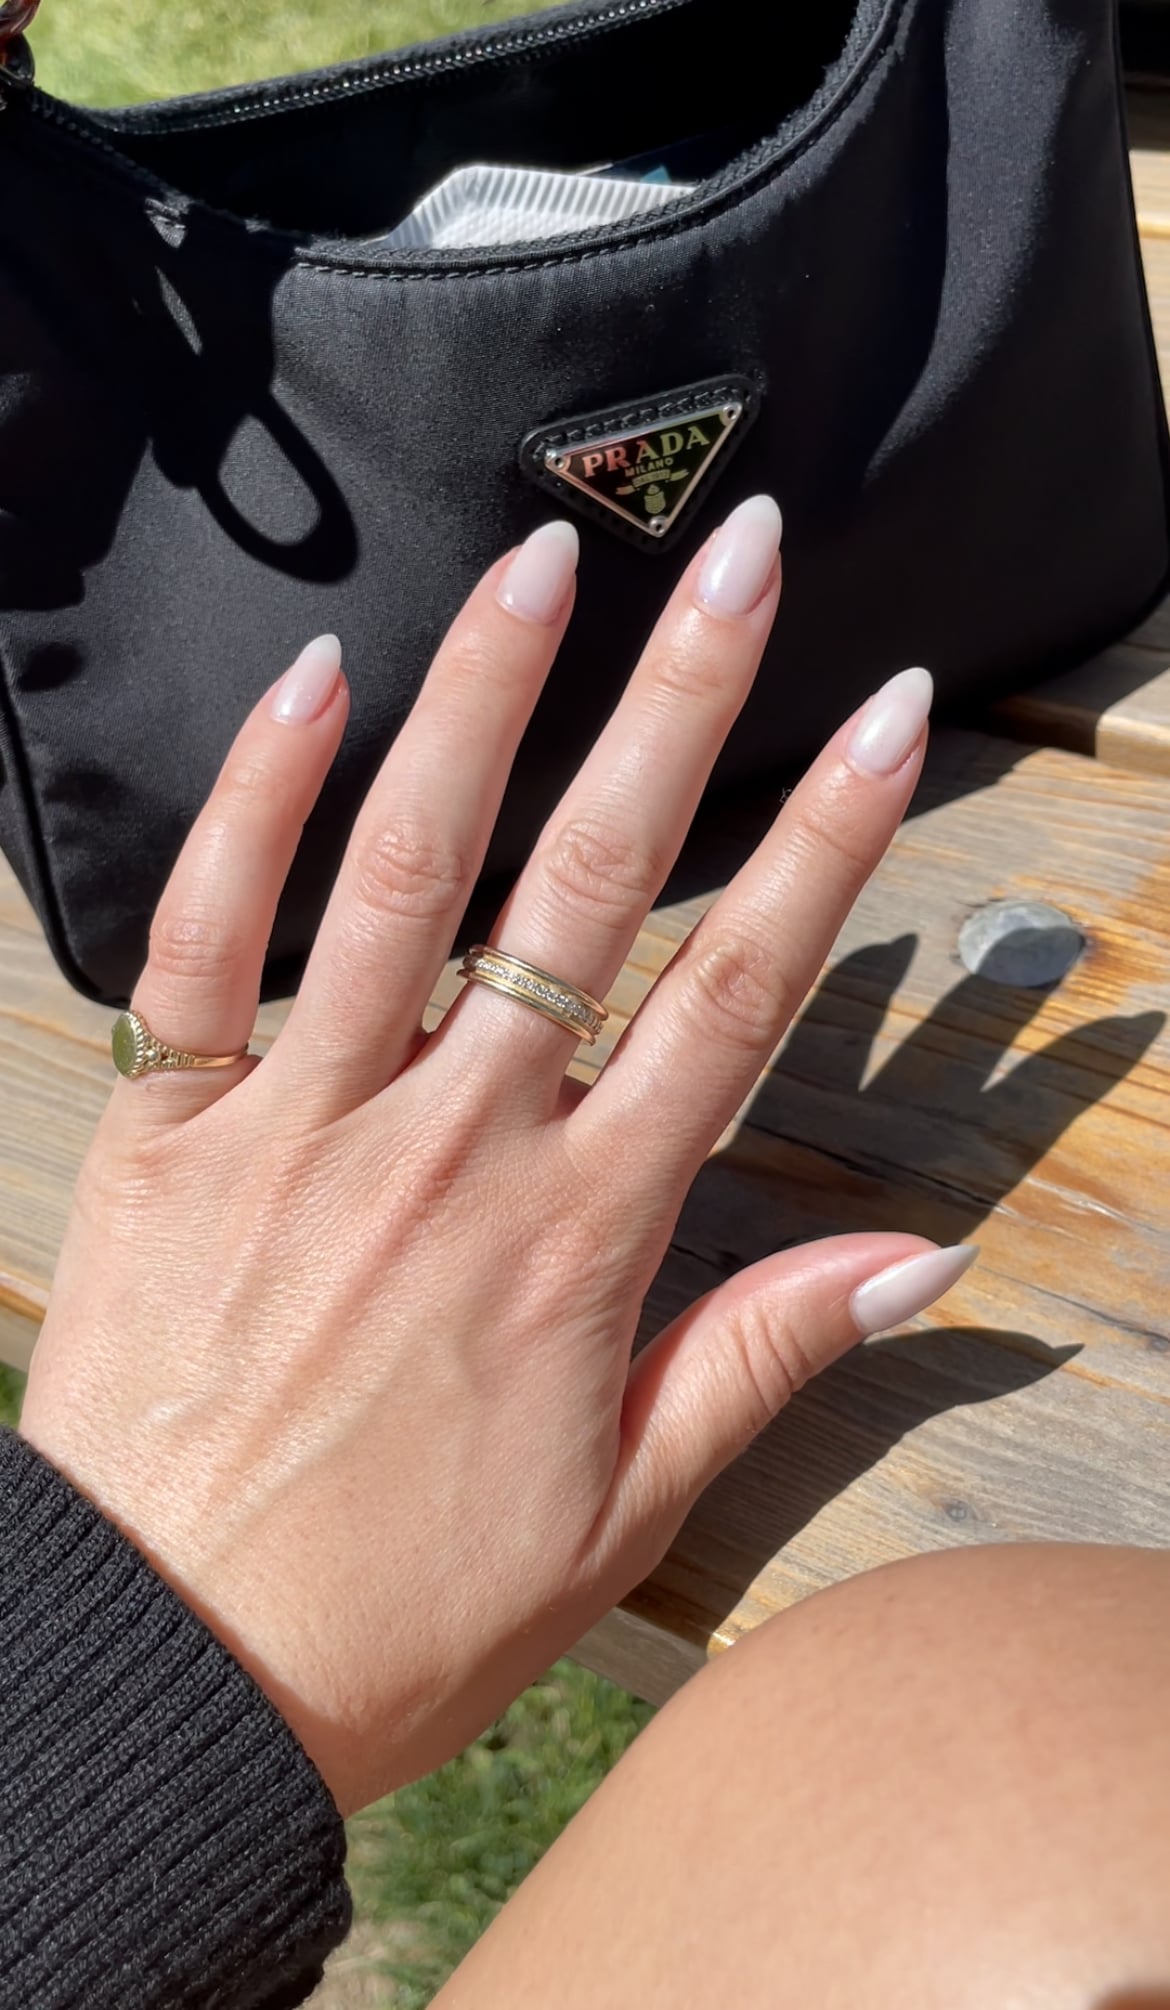
I was immediately obsessed with the end result. It was the perfect color combination to give my nails a little something-something while also looking classic and chic. I was so into the look that I couldn’t stop myself from texting photos to all of my friends (who were all equally enamored with how my manicure turned out).
Since then, it’s become my go-to; I’ve had my nails done in this style three times. I’ve tested it out with a few different base colors, always sticking with the shades Ganzorigt uses on Bieber. So far, using OPI Funny Bunny as a base coat has been my favorite, but I love using OPI Bubble Bath when I’m after more of a pink tone.
The hardest part about trying out this nail trend was actually finding a nail salon that could do it for me, so if you’re looking to test out Bieber’s “glazed-doughnut nails” for yourself, I would suggest calling a few places before going to make sure they have the products you need and offer the service. In my opinion, the end result is totally worth the extra effort.
I tried Hailey Bieber’s go-to nail color combo. Here’s how they turned out! What do you think? #haileybieber #haileybieberstyle #haileybiebernails #opi #opiobsessed #gelnails @reneedrodriguez
Source: Read Full Article
